Creating a Product with Cadify SolidWorks Add-in
Follow these steps to create a new product using the Cadify SolidWorks add-in:
1. Open the Cadify Task Pane and Log In
- Ensure the Cadify task pane is visible in SolidWorks.
- Log in to the webstore using the account you registered with.
2. Open or Create a SolidWorks Part/Assembly
- Open an existing SolidWorks part or assembly file, or create a new one from scratch.
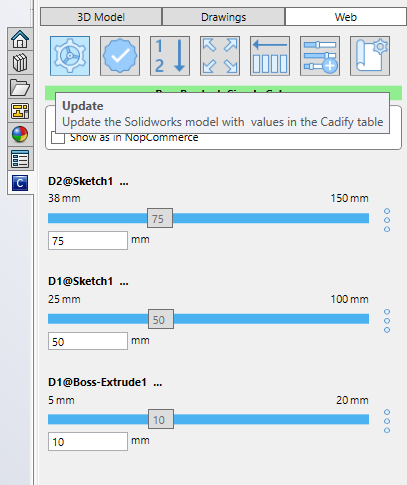
- Example: To create a simple cube, start a new part, select the Front Plane, and use the rectangle sketch tool to draw a square. Then use the Extrude feature to create a cube.
Tip: We also provide ready-to-go product samples. Samples
3. Create a New Raw Product
- Go to the File menu in the Cadify add-in.
- Click on the Create raw menu item.
4. Fill in Product Details
You will see a dialog titled Product General Information. Fill in the following fields:
- Product name: Enter the name of your product.
- Short description: Provide a brief description.
- Full description: Add a detailed description.
- SKU: Enter the Stock Keeping Unit (SKU) code.
- Admin comment: (Optional) Add any internal notes.
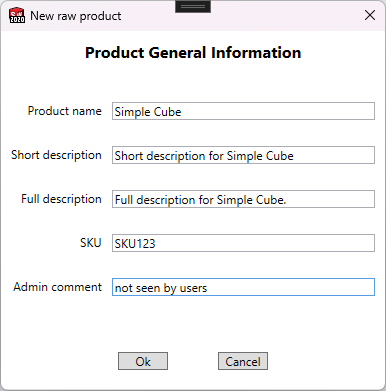
Once all fields are filled, click Ok to create the product, or Cancel to abort.
5. Product is Saved to the Cloud
Cadify will create the raw product for you and save it to the cloud. This allows you to work on your product from different locations and devices.
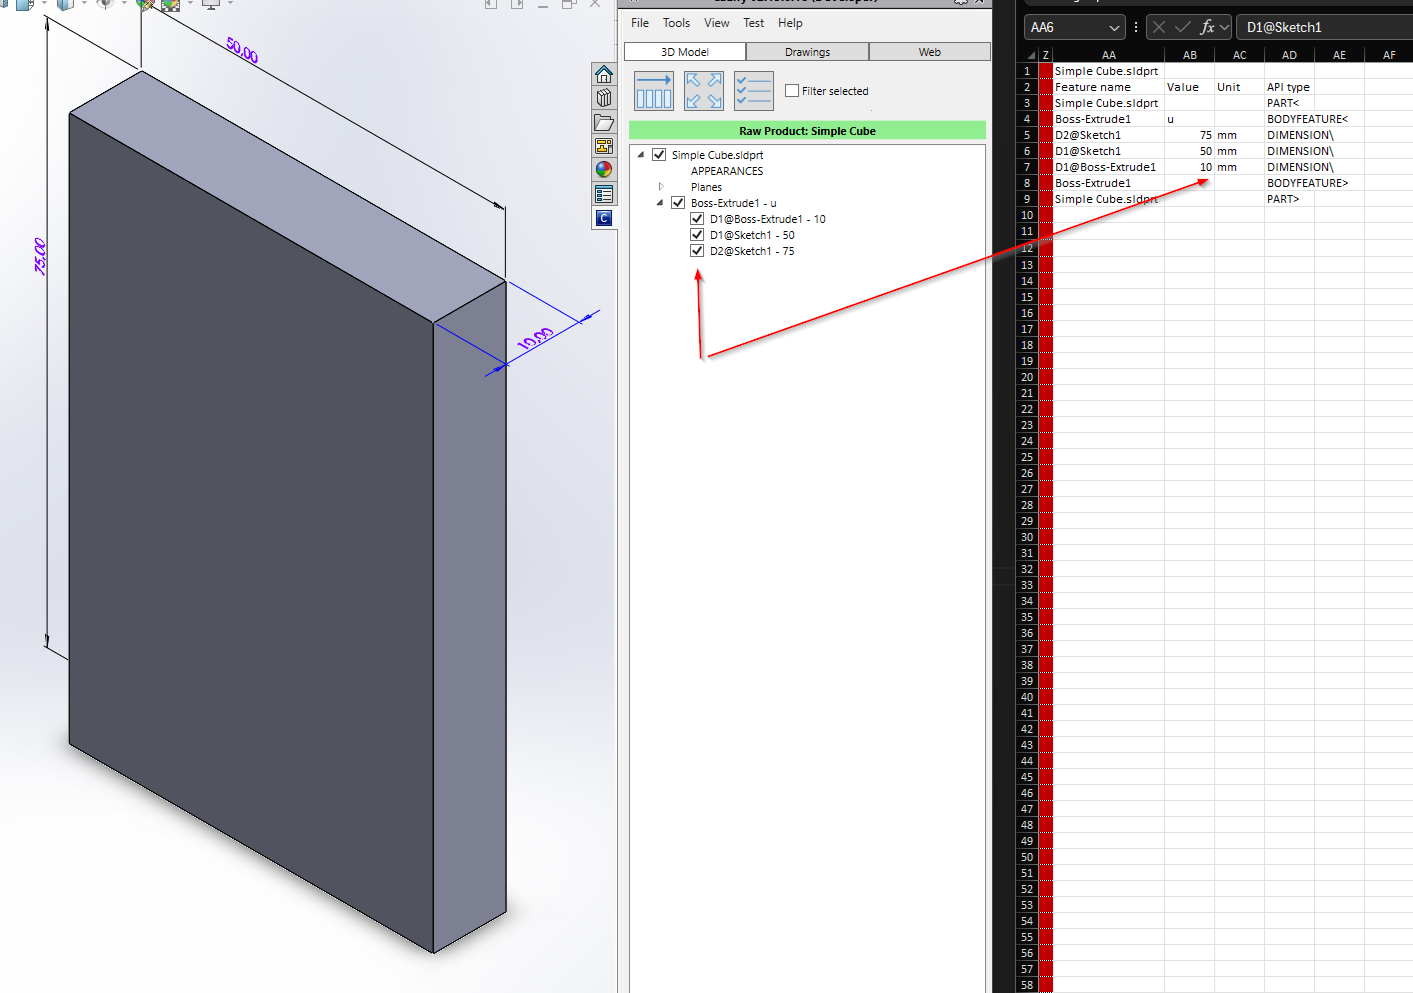
6. Work with 3D Model Parameters
On the 3D Model tab, you will see your model's parameters organized in a hierarchical tree. When you select a dimension (for example, by checking its checkbox), it will be stored in the Cadify workbook (Excel file). This enables you to use these parameters for calculations and further automation.
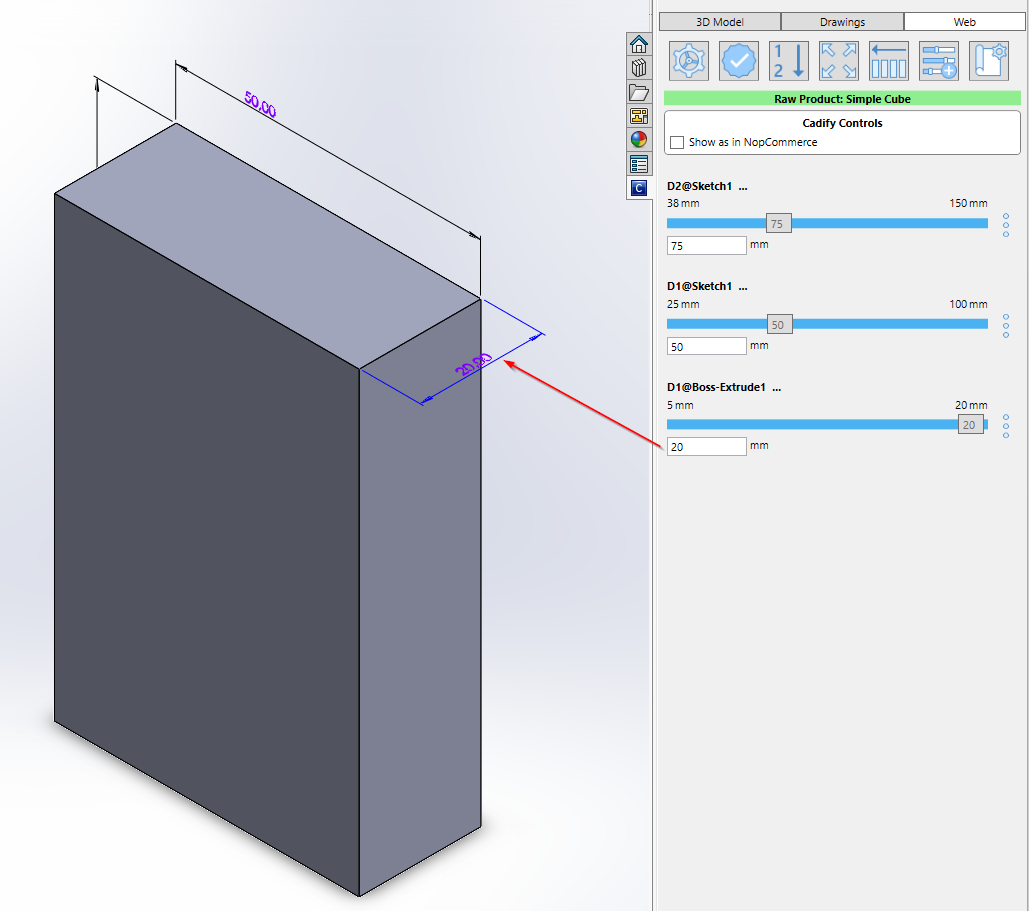
7. Use Controls in the Web Tab
As you proceed to the Web Tab, Cadify will automatically create controls for your selected numerical dimensions. You can now control your model's dimensions directly from these controls.
- Example: Change the extrude dimension from 10mm to 20mm using the web control (see image below).